The internet seems to have gone Midori crazy! It’s beautiful yet simple design as well as it’s flexibility as a journal, planner or notebook has inspired many people to get creative. I decided to try to make my own using paper and gesso after seeing how my paper stencils became more supple and durable after a coating of acrylic gesso was painted on them. The gesso plasticises the paper to look and feel more like vinyl or faux leather. So let’s get started!! :) 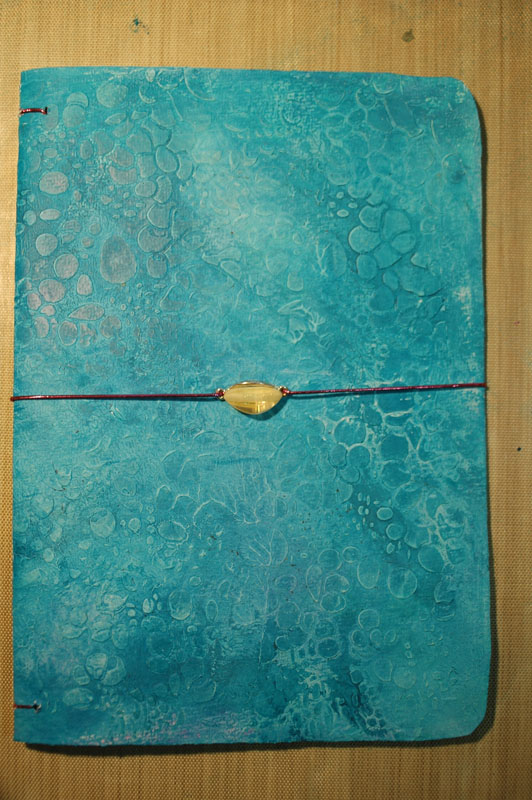 Firstly take some cardstock or watercolour paper and decorate it with spray inks, I’m using Dylusions inks as the colours will stain the gesso giving a more layered effect. Decorate both sides of the paper.
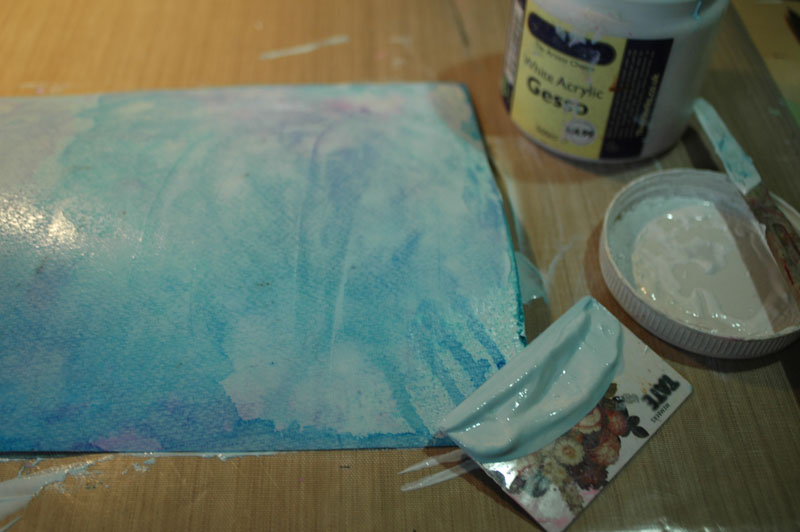
  Then using acrylic gesso, spread it onto the paper using an old store card, this gives a very thin and even coverage of gesso. Gesso both sides with 2 layers leaving the paper to throroughly dry between layers.
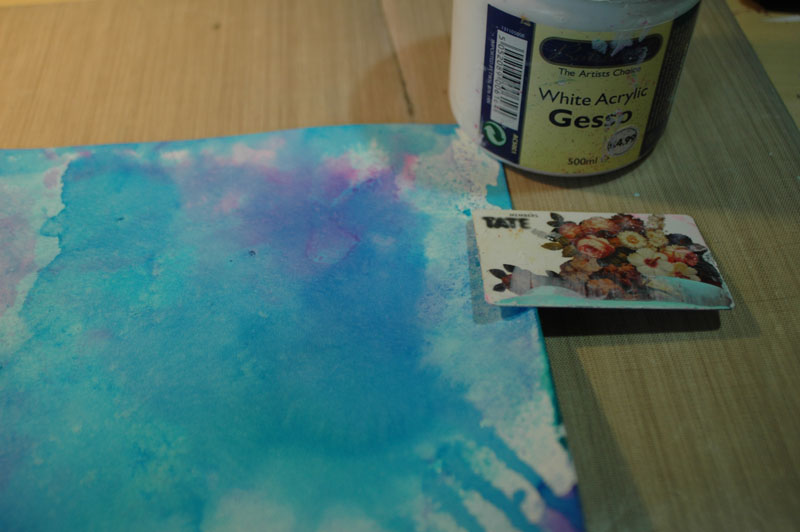
 I made one last layer of gesso, scraping it through a stencil to give an organic leather grain effect.
 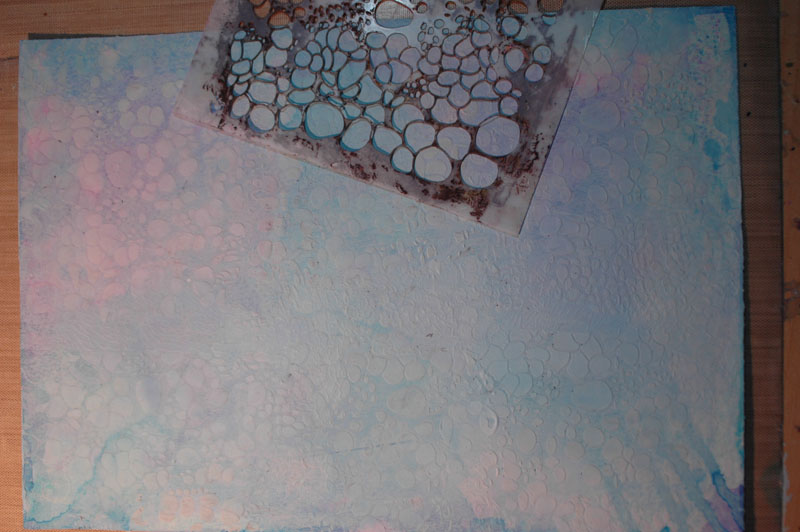 Once this was throughly dry I rubbed acrylic ink onto the surface so it highlighted the raised surface of the stencilled gesso, I then went over it again with a baby wipe which had been dabbed in some acrylic ink.
 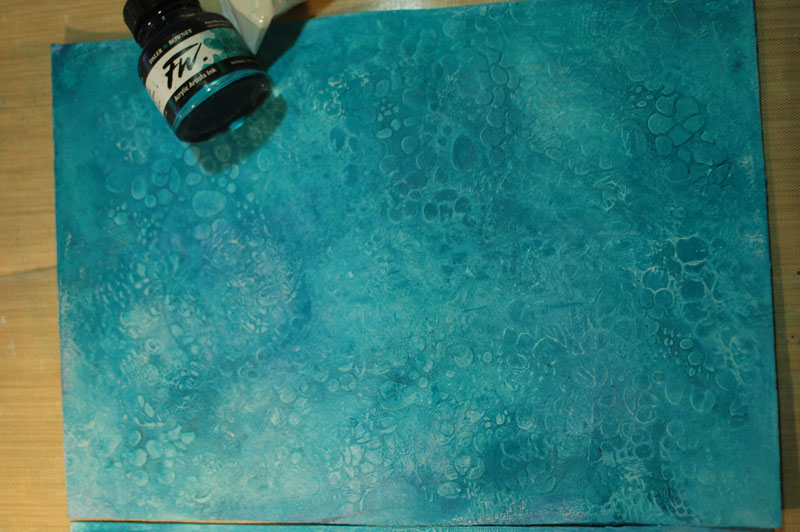 I also stained the inside cover in the same way, although I did not use a stencil.
 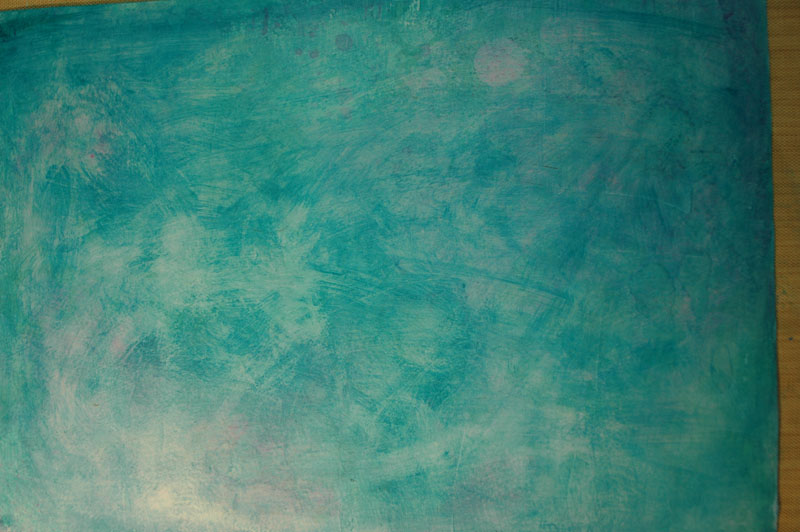 I then made holes for the elastic notebook holders. I decided to make my own version of the threading making a hole in the center of the cover for the elastic tie, then more holes at the top and bottom as shown below. Mine are about a cm apart and a cm in from the edge of the cover. You will need to make 3 holes at the bottom and 2 at the top. (mine were a bit wonky..) If you make the holes from the outside in, it looks a bit neater, you can dab a little ink on the holes if the white paper shows through the puncture. I also rounded the edges of my cover.
 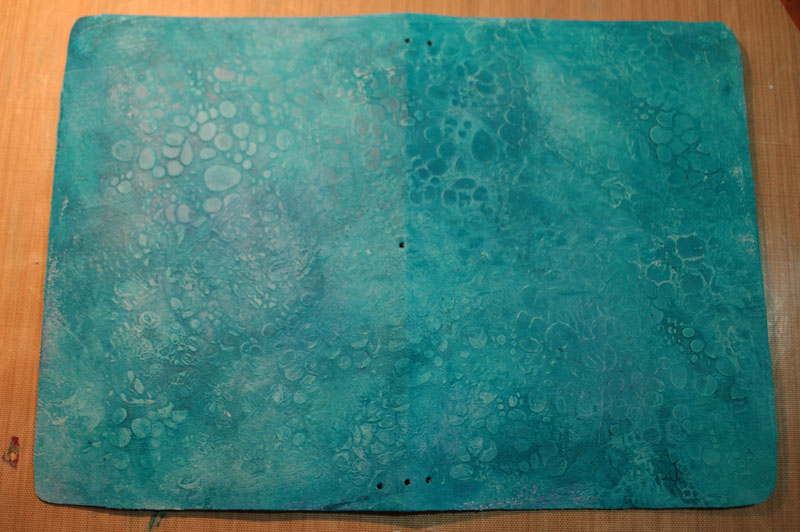 Then thread some elastic string (I used metallic elastic string from Tiger, it was very pretty but I think I will use thicker elastic next time) through the centre, from outside to inside, add a charm or bead if you desire, then thread the other end of the elastic through the same hole and tie it on the inside.
 Then thread a long piece of elastic (it needs to be about 2 and a half times the height of the cover) through the bottom right hole and tie make a double knot on the inside.
 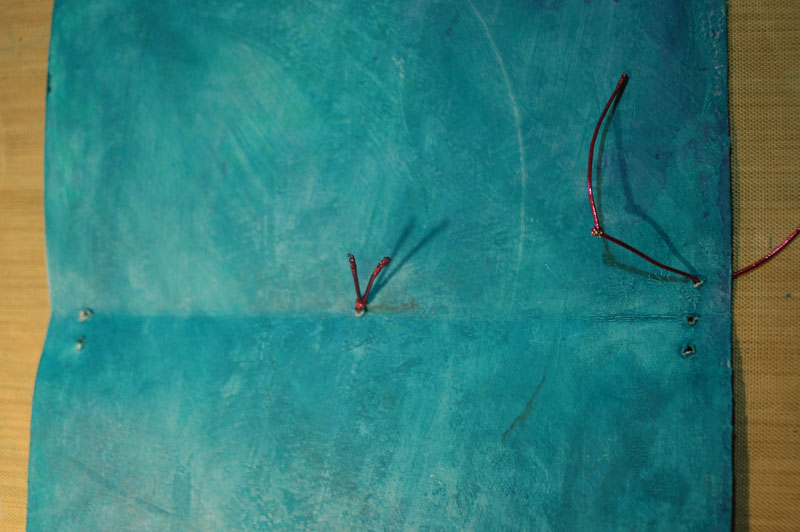 Then thread it from the outside into the bottom centre hole.
 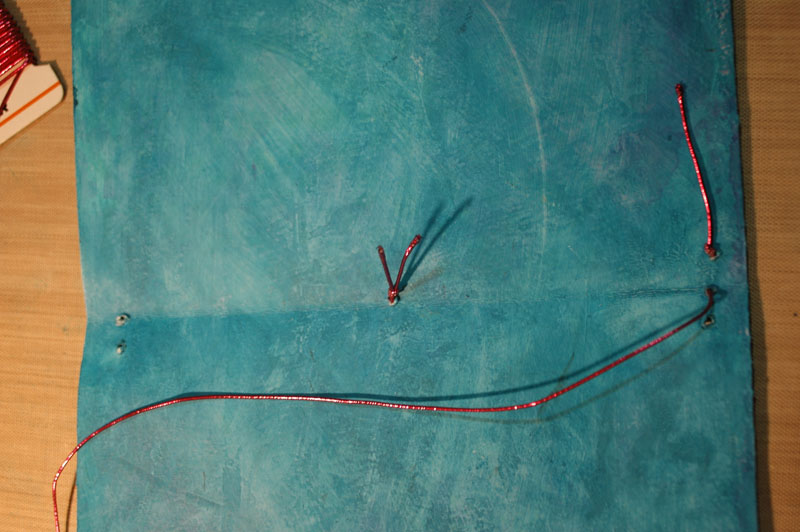 Then up to the top centre hole.
 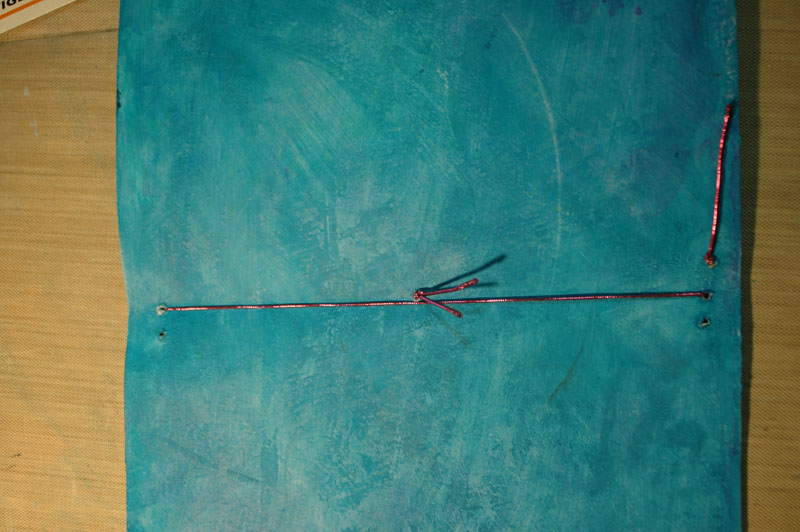 Then from the outside into the top left hole and down through the bottom left hole.
 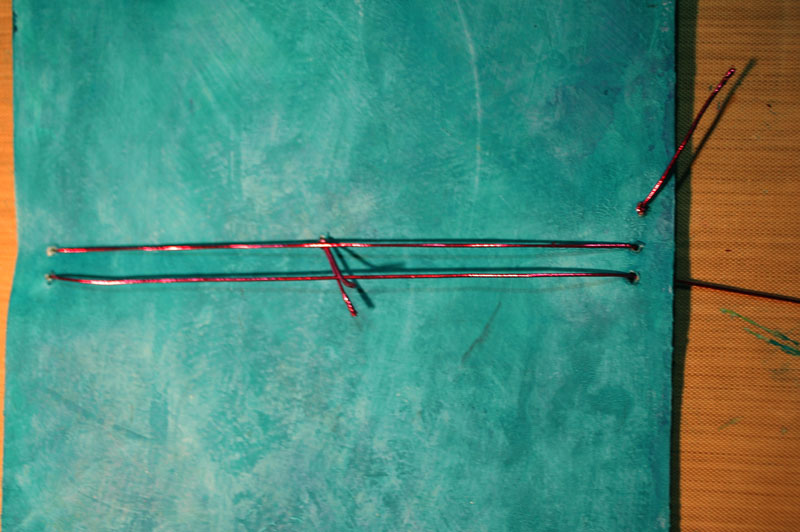 Then back through the bottom centre hole from the outside in, and tie it to the elastic already there.
 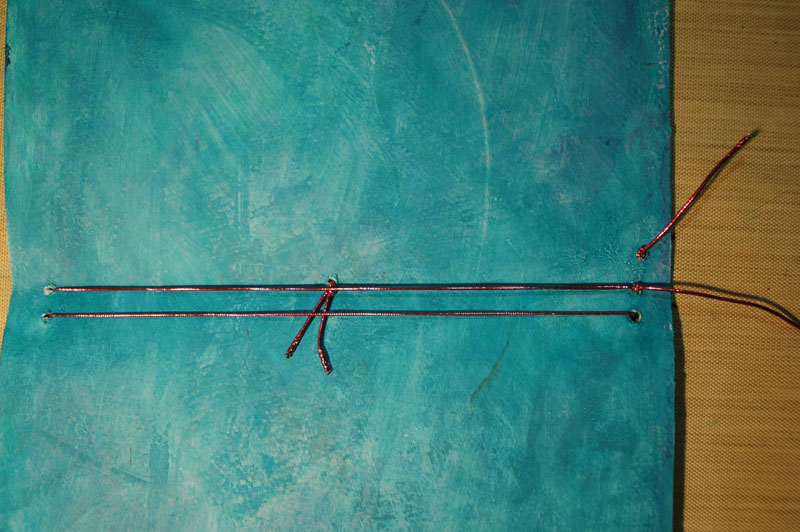 You can then trim all the ends of the knots and add your signatures of paper, or notebooks,
  I would love to see your versions of the Midori and if you follow my threading style please let me know how it worked for you in the comments below. :) xx
- Comment
- Reblog
-
Subscribe
Subscribed
Already have a WordPress.com account? Log in now.
